As a seasoned supplier of submersible pumps, I've witnessed firsthand the growing demand for these versatile devices in various applications, from residential water supply to industrial drainage. One of the common queries I receive is about how to install a submersible pump in a horizontal position. In this blog post, I'll share my expertise and provide a step-by-step guide to help you through the process.
Understanding the Basics of Horizontal Submersible Pump Installation
Before we dive into the installation process, it's essential to understand why you might choose to install a submersible pump horizontally. Horizontal installation can be beneficial in situations where vertical space is limited, or when the pump needs to be placed in a specific orientation to optimize its performance. However, it's crucial to note that not all submersible pumps are designed for horizontal installation. Make sure to check the manufacturer's specifications to ensure your pump is suitable for this type of installation.
Step 1: Gather the Necessary Tools and Materials
The first step in any installation project is to gather all the tools and materials you'll need. Here's a list of the essentials:
- Submersible pump (make sure it's suitable for horizontal installation)
- Pipe fittings and connectors
- Pipe sealant or Teflon tape
- Wrenches and pliers
- Electrical wiring and connectors
- A suitable mounting bracket or platform
- Safety equipment, such as gloves and goggles
Step 2: Choose the Right Location
Selecting the right location for your submersible pump is crucial for its performance and longevity. Here are some factors to consider:
- Accessibility: Choose a location that is easily accessible for maintenance and repairs.
- Stability: The pump should be installed on a stable surface to prevent vibrations and movement.
- Ventilation: Ensure that the area around the pump has adequate ventilation to prevent overheating.
- Distance from the water source: The pump should be located as close as possible to the water source to minimize the length of the suction pipe.
Step 3: Prepare the Mounting Surface
Once you've chosen the location, it's time to prepare the mounting surface. If you're using a mounting bracket, make sure it's securely attached to the surface. If you're installing the pump on a platform, ensure that it's level and stable. Use a spirit level to check the surface and make any necessary adjustments.
Step 4: Install the Pump
Now it's time to install the pump. Follow these steps:
- Position the pump: Place the pump on the mounting surface or bracket in the horizontal position. Make sure it's aligned correctly and securely fastened.
- Connect the suction pipe: Attach the suction pipe to the inlet of the pump using the appropriate pipe fittings and connectors. Apply pipe sealant or Teflon tape to the threads to prevent leaks.
- Connect the discharge pipe: Connect the discharge pipe to the outlet of the pump in the same manner as the suction pipe.
- Secure the pipes: Use clamps or brackets to secure the pipes in place and prevent them from moving or vibrating.
Step 5: Electrical Connections
Proper electrical connections are essential for the safe and efficient operation of your submersible pump. Here's how to make the connections:
- Turn off the power: Before making any electrical connections, turn off the power supply to the area where the pump will be installed.
- Connect the wiring: Follow the manufacturer's instructions to connect the electrical wiring to the pump. Make sure to use the correct gauge of wire and secure the connections with electrical tape or wire nuts.
- Ground the pump: To prevent electrical shock, it's important to ground the pump. Connect the grounding wire to the pump and to a suitable grounding point.
- Test the connections: Once the electrical connections are made, turn on the power supply and test the pump to ensure it's working properly.
Step 6: Prime the Pump
Priming the pump is an important step to ensure that it can draw water effectively. Here's how to prime the pump:
- Fill the suction pipe: Fill the suction pipe with water to remove any air pockets.
- Open the discharge valve: Open the discharge valve to allow water to flow out of the pump.
- Start the pump: Start the pump and let it run for a few minutes to prime the system.
- Check for leaks: While the pump is running, check for any leaks in the pipes or connections. If you find any leaks, tighten the fittings or apply additional sealant.
Step 7: Test the Pump
After priming the pump, it's time to test its performance. Here's what to do:
- Monitor the pressure: Use a pressure gauge to monitor the pressure in the system. Make sure the pressure is within the recommended range for your pump.
- Check the flow rate: Measure the flow rate of the water to ensure that the pump is delivering the required amount of water.
- Listen for any unusual noises: Listen for any unusual noises or vibrations coming from the pump. If you hear any strange noises, stop the pump immediately and check for any problems.
- Adjust the settings: If necessary, adjust the settings of the pump to optimize its performance.
Step 8: Maintenance and Troubleshooting
Regular maintenance is essential to keep your submersible pump in good working condition. Here are some maintenance tips:
- Clean the pump: Periodically clean the pump to remove any debris or sediment that may have accumulated.
- Check the oil level: If your pump has an oil-filled motor, check the oil level regularly and top it up if necessary.
- Inspect the seals and gaskets: Check the seals and gaskets for any signs of wear or damage and replace them if necessary.
- Test the pump regularly: Test the pump regularly to ensure that it's working properly.
If you encounter any problems with your submersible pump, here are some troubleshooting tips:
- Check the power supply: Make sure the power supply is turned on and that the pump is receiving power.
- Check the wiring: Inspect the wiring for any damage or loose connections and repair or replace them if necessary.
- Check the impeller: If the pump is not delivering water, the impeller may be clogged or damaged. Remove the impeller and clean it or replace it if necessary.
- Check the pressure switch: If the pump is not turning on or off automatically, the pressure switch may be faulty. Replace the pressure switch if necessary.
Conclusion
Installing a submersible pump in a horizontal position can be a challenging but rewarding project. By following the steps outlined in this blog post, you can ensure that your pump is installed correctly and operates efficiently. Remember to choose the right pump for your application, follow the manufacturer's instructions, and perform regular maintenance to keep your pump in good working condition.
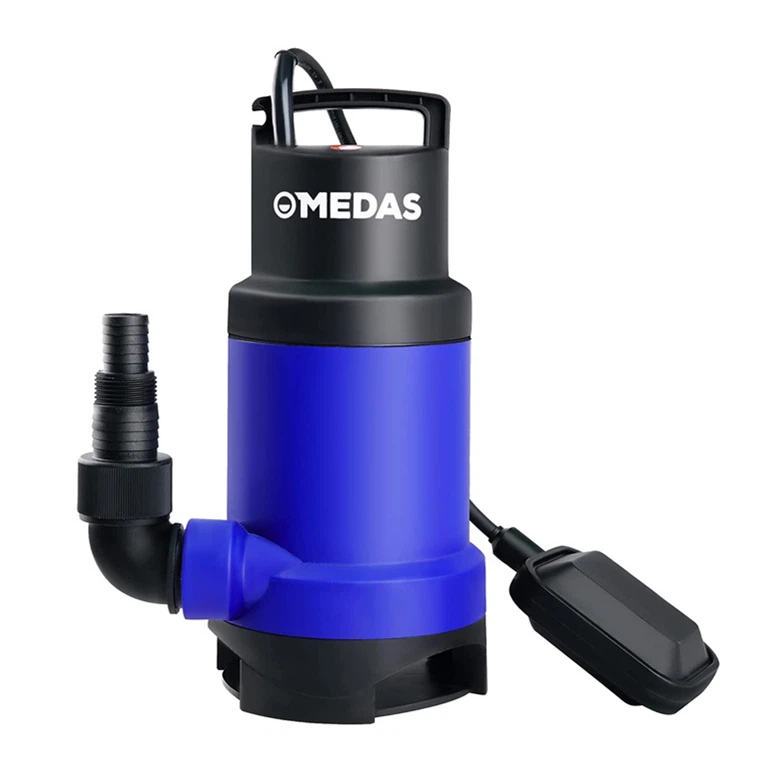
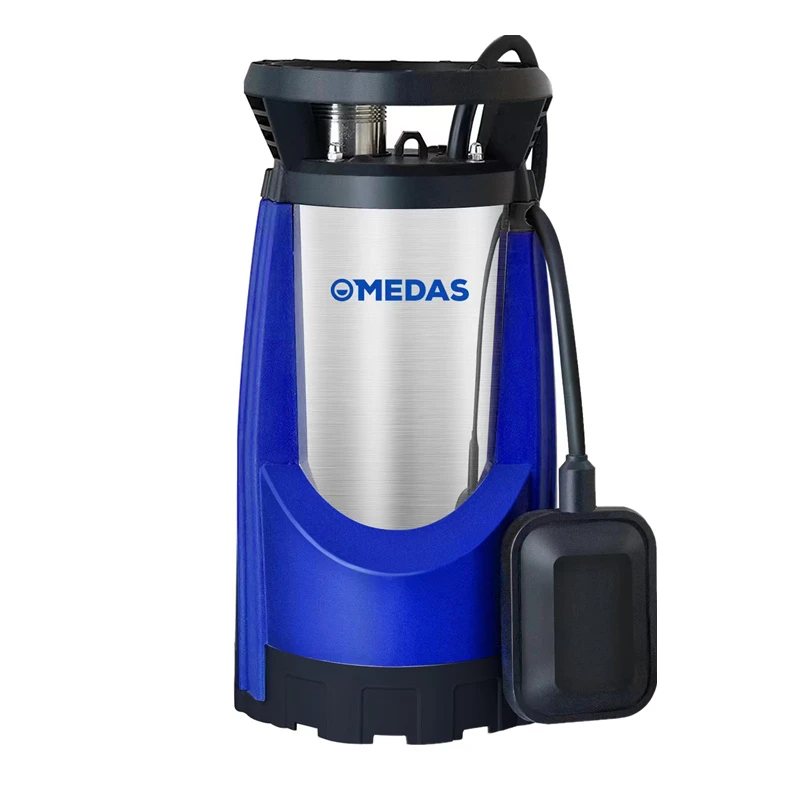
If you're in the market for a submersible pump, we offer a wide range of high-quality pumps to meet your needs. Check out our Pool Cover Pump, Stainless Steel Clean Water Submersible Pump, and Professional Submersible Pump for more information.
If you have any questions or need further assistance with your submersible pump installation, please don't hesitate to contact us. We're here to help you find the right solution for your needs and ensure that your pump installation is a success.
References
- Manufacturer's installation and operation manuals for submersible pumps
- Plumbing and electrical codes and standards
- Industry best practices for submersible pump installation and maintenance